First I will take you through the tutorial for pretty insides. You know when you buy a top you never see any raw/serged edges when it's on the hanger - ever. Not even for cheapo brands. So why should we settle for anything less when making clothes ourselves?
This is what I did:
1. Cut a piece of contrasting (if you want) fabric with similar amount of stretch as the main fabric, Let the top follow the shape of the neckline on the back piece and the lower part should be a nice rounded shape, slightly below the front piece neckline. If you have trouble shaping the lower part, then trace off a plate or similar. It is important that the shape is even since it will be a sewing guide later on.

2. Serge the lower edge of the contrasting fabric. If you have a name tag, then sew it to the piece as well, about 1'' (2,5cm) below the edge, centre front (only through the inner piece). Pin it to the inside of the back piece, wrong sides together. Sew along the served edge with a long straight stitch. Note - here you must be careful since this line will be seen from the outside. If you are not happy - unpick it and resew it, trust me, it will drive you crazy if this seam is wonky! Join the shoulder seams.


3. Time for the neck line and all the schnazzy trims! Cut a strip, around 4cm wide, and hold it against the shape of the neckline. Stretch A LOT as you go around, to get the right size and to avoid having a neckline that doesn't stay flat later on. When you are all the way around, cut the strip off and join the short edges (right sides together). Fold in half, press and pin.
Pin it to the neckline, stretch more at the front than at the back of the top. NO SEWING YET!

4. Cut another trim, about 1'' wide, choose a fun print if you want - it will not be seen on the outside. Pin it to the back of the neckline so that you sandwich the folded trim in between the new strip and the back piece. Stretch slightly. To clarify: the new strip shall be placed face down on top of the folded trim on the inside of the back piece. Leave about 1cm past the shoulder seams and cut of the rest.


5. Now serge all the way around through all the layers! When you are done it should look like this:
 |
| From the inside of the top |
 |
| From the outside (right side) of the top. The back side that is. |
First, understitch the trim to the seam allowance only, close to the edge, with a straight stitch.

Then fold under the raw edge and pin. Topstitch the other end of the trim to encase the serged edge. This is where things can go pear shaped! This second line is seen from the outside and it is important that it is on an even distance from the first line or it will look shitty!! I had to redo this step 3 times before I was happy.

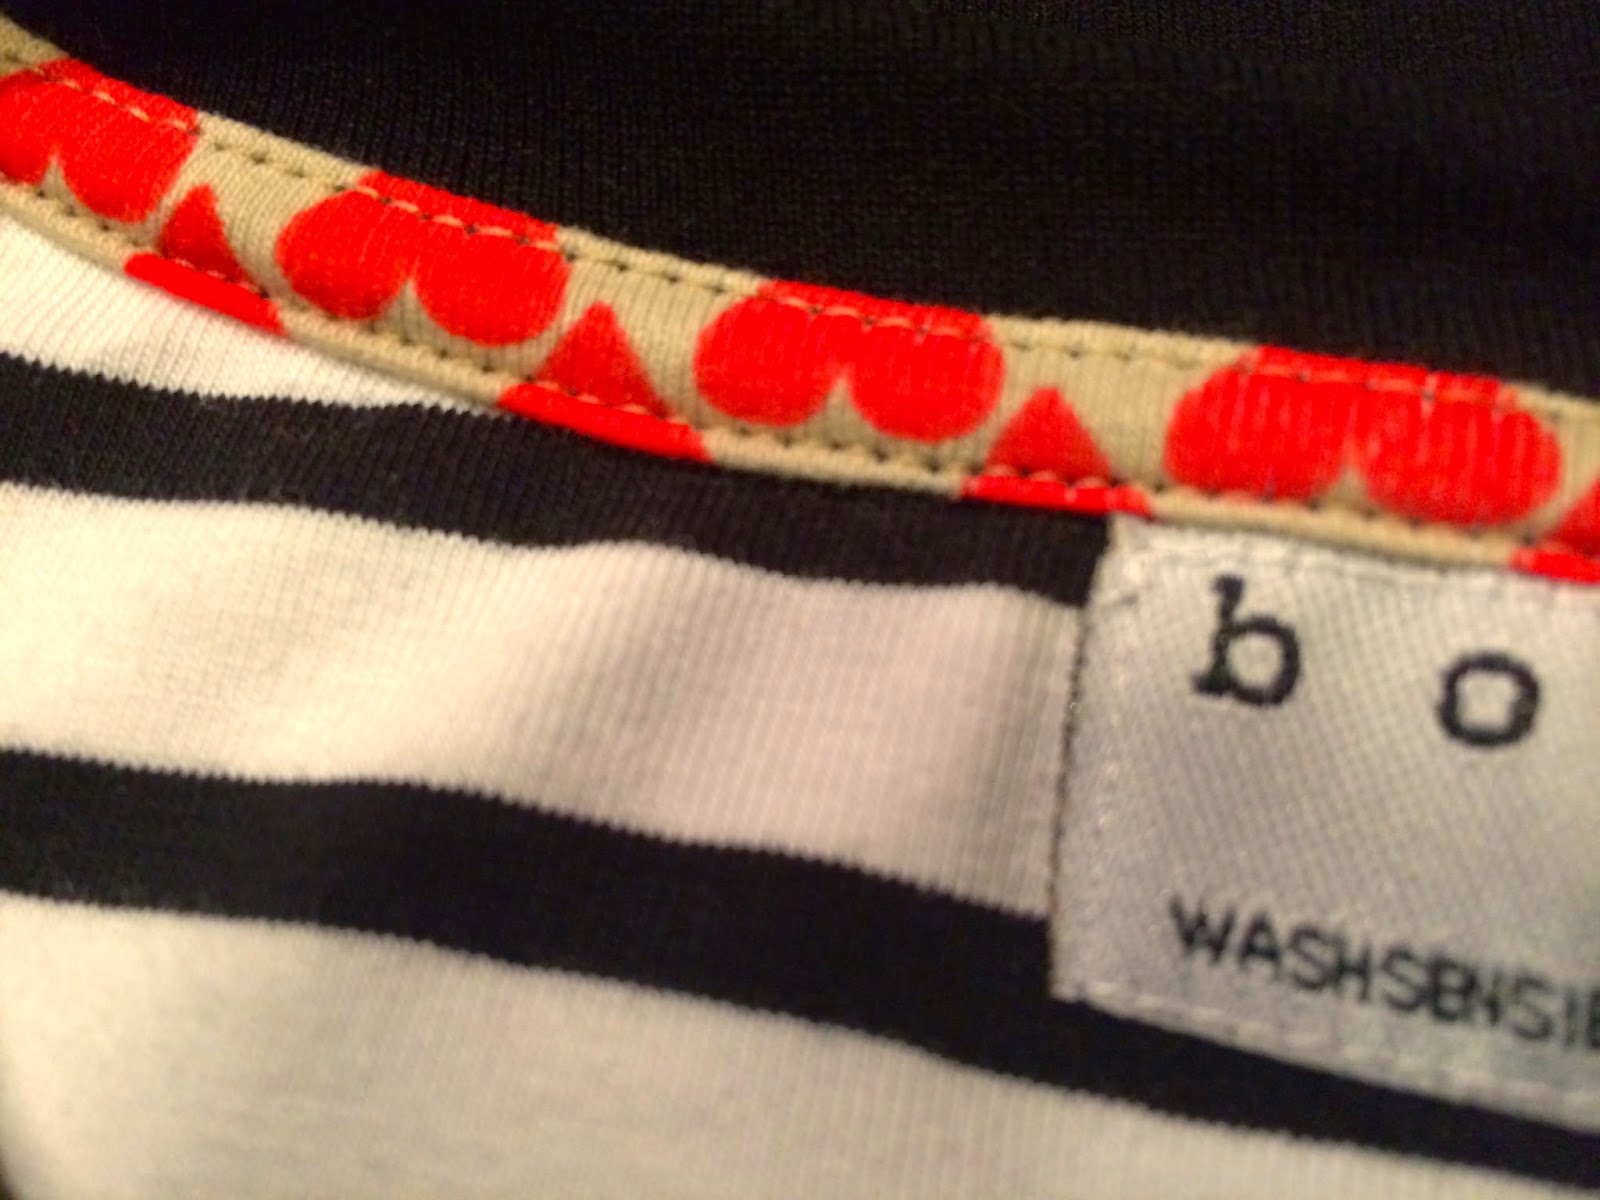 |
| Done!!! Ain't that pretty??? |

Apart from this I actually made some other fun things too. I decided to up cycle some "gold" sparkles from a hideous second hand blouse I had in a bag. I sewed this at the center back, actually before step 3 above.

I also wanted rolled up sleeves. I cut the sleeves extra long, rolled them up and then hand stitched all around from the inside through all the layers except the top one, to keep the rolls securely in place with no visible stitches.
Final product (sorry for poor picture quality - It is difficult to take pictures without help, especially for black items):


Well, again, I won't be receiving prices for best photography anytime soon, but trust me that this garment looks WAY better IRL than shown here :)
/Alexandra
